How to Add Code Snippets to a Blog
When writing about web design, you might want to add code snippets to your blog from time to time. The following is an easy to use technique. You won’t believe how simple the steps are. Before you know it, you’ll be posting code snippets all over your blogs.
Now you may have heard about Github before, but like me, were a little intimidated by what it was, wondering why developers rave about. This blog is written to first explain what Github is, and then explain how to use an Git repository called a Gist.
What’s GitHub and how does it work?
To make sense of GitHub, you need to have an understanding of what Git is. Git is an open-source version control system designed by Linus Trovalds.
A “version control system” - what in the world is that? Well...when developers first start a new project, let’s say, an application or a web design, they regularly make changes to the code. They write newer and newer versions, until they finish with a version that they’re ready to share and release.
Version control systems are like online file cabinets that store different versions of code in organized spaces called repositories. A repository is a location where files for a specific project are stored, and they're given a unique URL. They're formatted to allow developers to collaborate and add contribution to one anothers’ work. Pretty cool, huh? Anyone can view versions available in public Git repositories. You can even download, make changes to, and upload your own versions. It's what they call "forking" a repository.
Fork Your Repository
“Forking” a repository - what’s it mean? You can think of “forking” like taking a stab at (get it? When you fork a piece of food, like a steak, you stab it, right?), or making your own mark on, a project. Forking is simply when you create a new project based off another project on Github. This is what makes Github so appealing and versatile - it encourages further development of existing programs, projects, apps, etc.
If there’s a project on Github you’d like to contribute to, you can simply download the current version, make changes, and upload a new repository. All you need to do is click the Fork button on a project to make a “copy”. Then feel free to modify it. You’re able to fork your own repositories, another developer’s public repository, or any private repository shared with you.
Github Gist
Okay, hopefully, you're beginning to feel that Github is not such a frightening place to visit anymore. Well, now let's make sense of specific Git repository, called a Gist. Because a Gist is a Git repository, this means you can download it, change it, or fork it, like another other repository. And every time you save a new Gist, a new URL is created. All you need to do is copy this URL and insert it wherever you’d like into your webpage or blog.
Gists are simple to use, easy way to share your code. You can share individual files, parts of files or complete software applications. The genius behind Gists is the simple way that Github organizes it repositories. It allows you to instantly share code samples and snippets, at any stage of its development.
How to make a Gist
- Head on over to gist.github.com
- If you have a GitHub account sign in. If not, it’s easy to sign up.
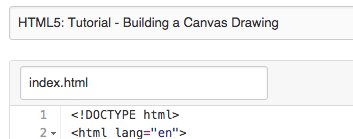
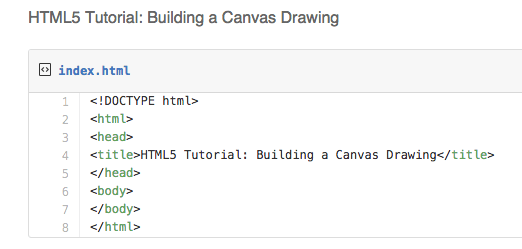
- Once inside Gist, start by adding a file name for your gist.
- Type your code in the command line.
- Make sure you save your files as a public gist. This will allow you to share your code publiclly. Although you have the option of creating a private gist, we want to share our repository, so we'll keep it public. Once it's saved, you'll see a "embed this gist” link along the left navigation bar.
- Copy the URL link.
- Embed the link anywhere you'd like into your blog.
That’s it. It’s as simple as that. Thanks to Github - and it's easy-to-use Gist repository - sharing code snippets has never been easier.